Is your space feeling a little under the weather from the winter months? We’ve got you covered! What better way to spruce up your home, then to give your shelves a Spring refresh! Styling shelves can be a little intimidating, but with these simple steps and by adding some great elements, you can easily achieve gorgeous shelves every time!
STEP ONE: START WITH A BLANK CANVAS
Whenever I’m doing any type of spring cleaning or restyling to my space, this is a great time to remove everything off your shelves, give it a good cleaning and rock out to some of your fav jams in the meantime! No one’s judging…unless you have fur babies like I do.
STEP TWO: GATHER YOUR LIKE COLORED ITEMS
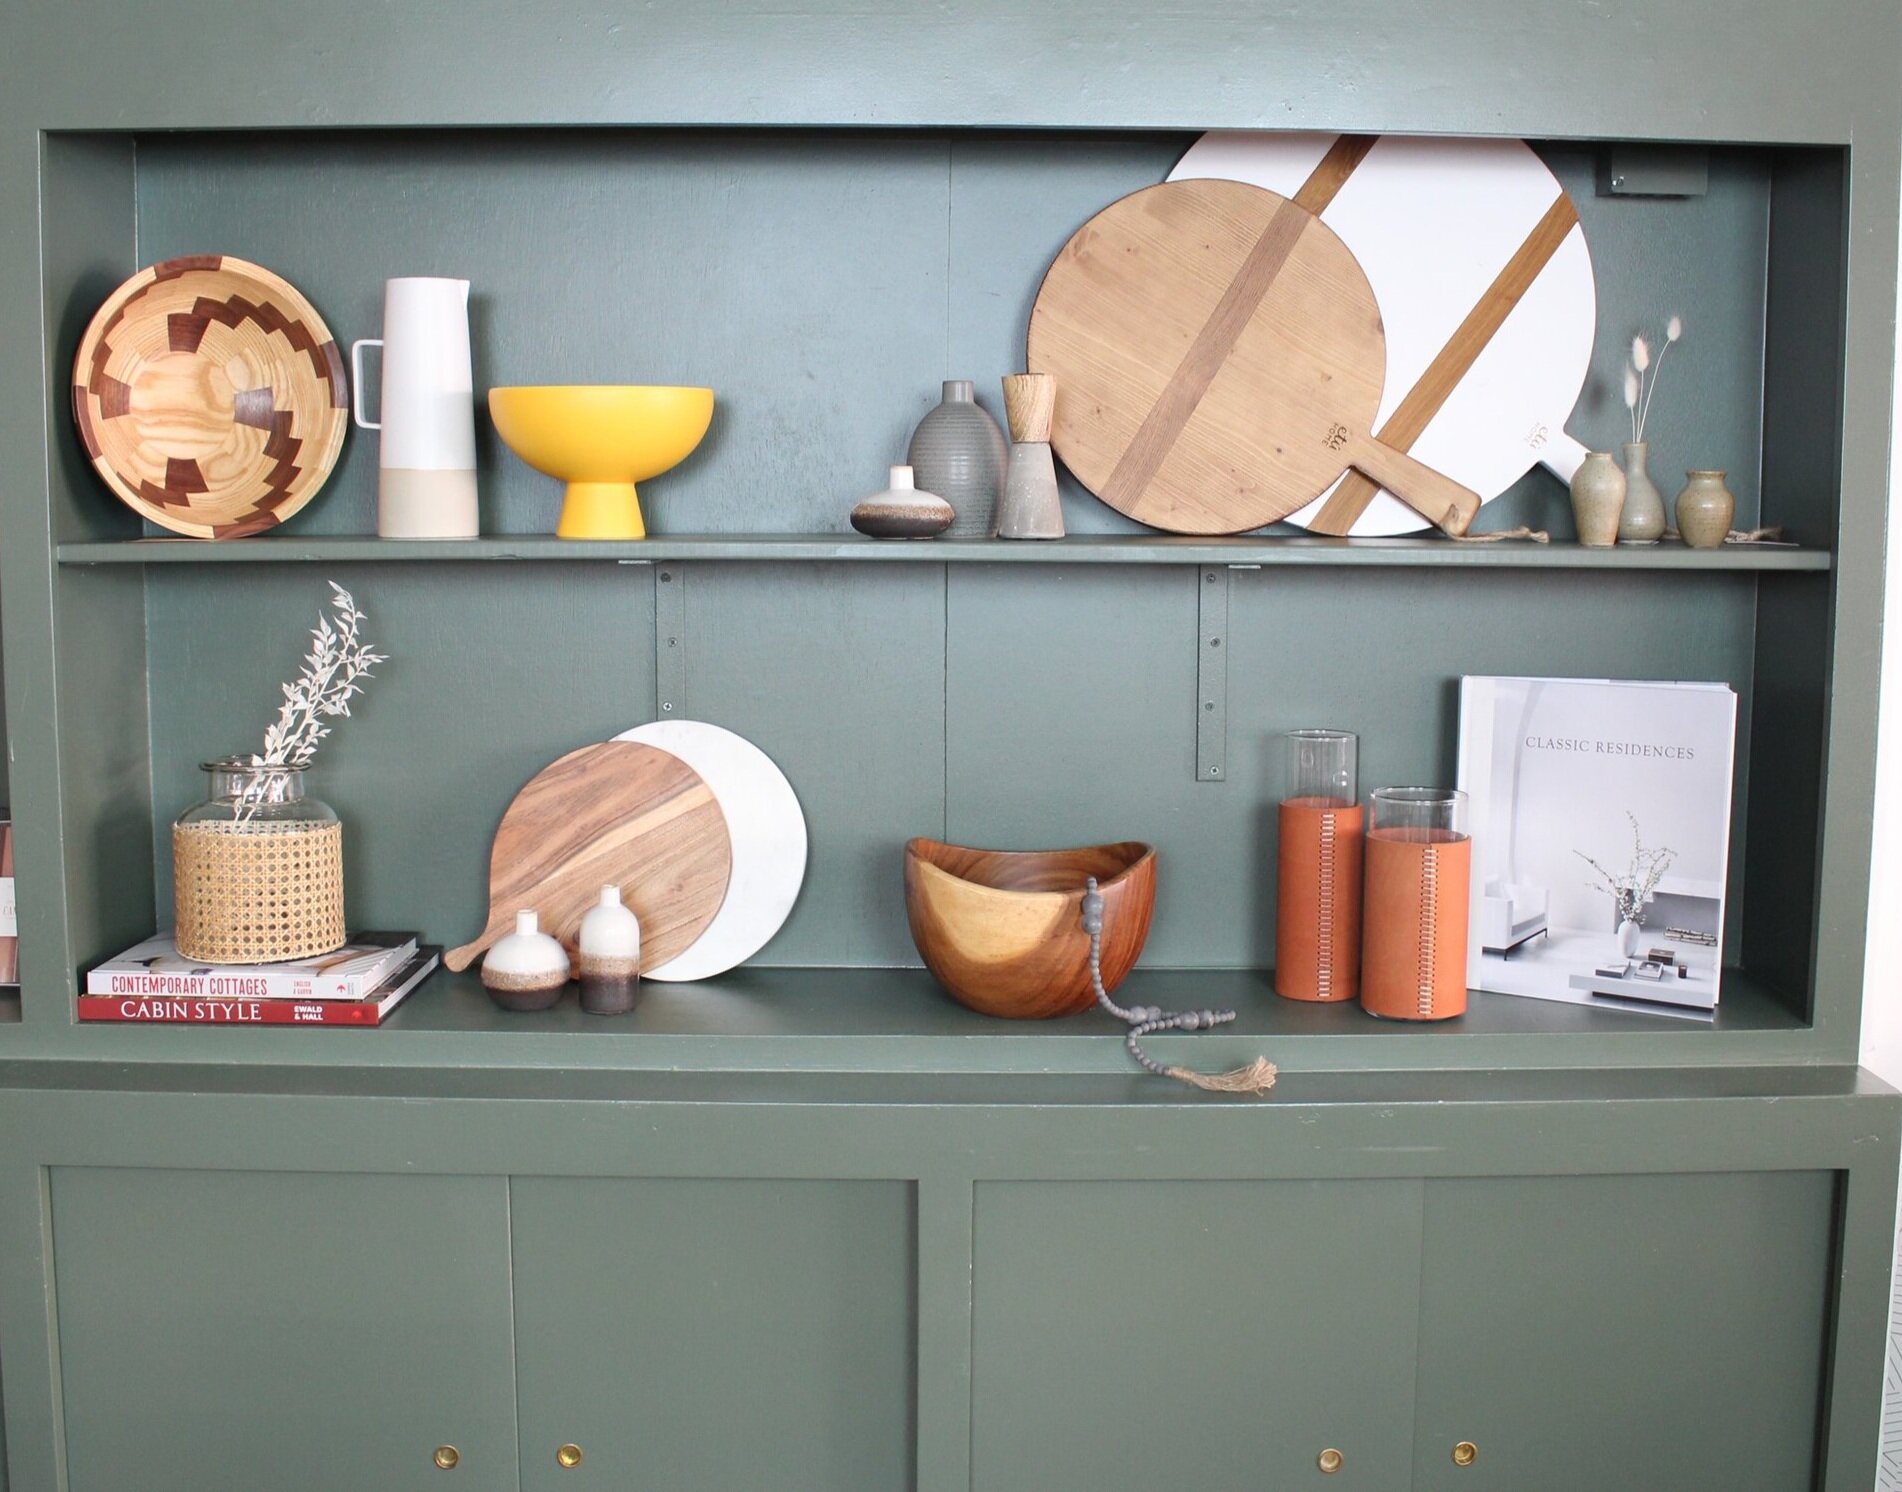
When you’re clearing off your shelves, this is a perfect time to group your like colored items together. Find any similarities in the colors and textures. This will help when you’re ready to start restyling, I promise! To creative a cohesive color pallet, it’s best to stick to using 2 or 3 colors. Below you will notice I stuck to white, natural wood and really used to green shelf to compliment these colors.

STEP THREE: START PLACING YOUR BIG ITEMS FIRST
Add height. You want your shelves to be balanced! You can use frames or artwork. Books are great for this too— and you can easily stack them if you need more dimension. Our go-to items that you can find in our shop are these awesome serving bowls + charcuterie boards! These are perfect for adding organic elements and texture with the natural wood. And, when you’re not using them to style, you can use them in your kitchen when you need to entertain.
We also have amazing ceramic and/or glass vases that would work as a great base to your shelf as well!

STEP FOUR: START FILLING IN THE BLANKS
Now you can build around your big items. Also be mindful you are spreading your like colored items throughout your shelves. You don’t want all your white or all your black pieces combined together. This is where you can also play around with creating dimension— having various sizes grouped together. Aim to keep your groupings to three or two items, or one big item.
You can find perfect little bud vases at our shop that make styling your shelves super easy, and can be used in any room of your home.

STEP FIVE: ADD SOME LIFE!
Whether you want some pops of greenery or need more color, adding plants, flowers or even simple twigs to your vases is a perfect way to showcase your personality and taste! Dried eucalyptus is our FAVORITE! And so versatile. We basically keep any dried flower or twig that can survive without H2O and reuse for styling any vases we want to bring to life! And if you don’t have enough natural light in your given space, faux is a great option as well!

So there you have it. No matter your style, by following these quick and easy steps, you can work on achieving a shelf you love! I hope you found this blog helpful and I would love to see your shelfie refresh for Spring! Feel free to share and tag us on Instagram =)
All products used in this tutorial can be purchased right here in our shop!

Published by:
Ashley Mayden
Shop Manager
320 Main Street
Placerville, Ca 95667